
Currently Empty: £0.00


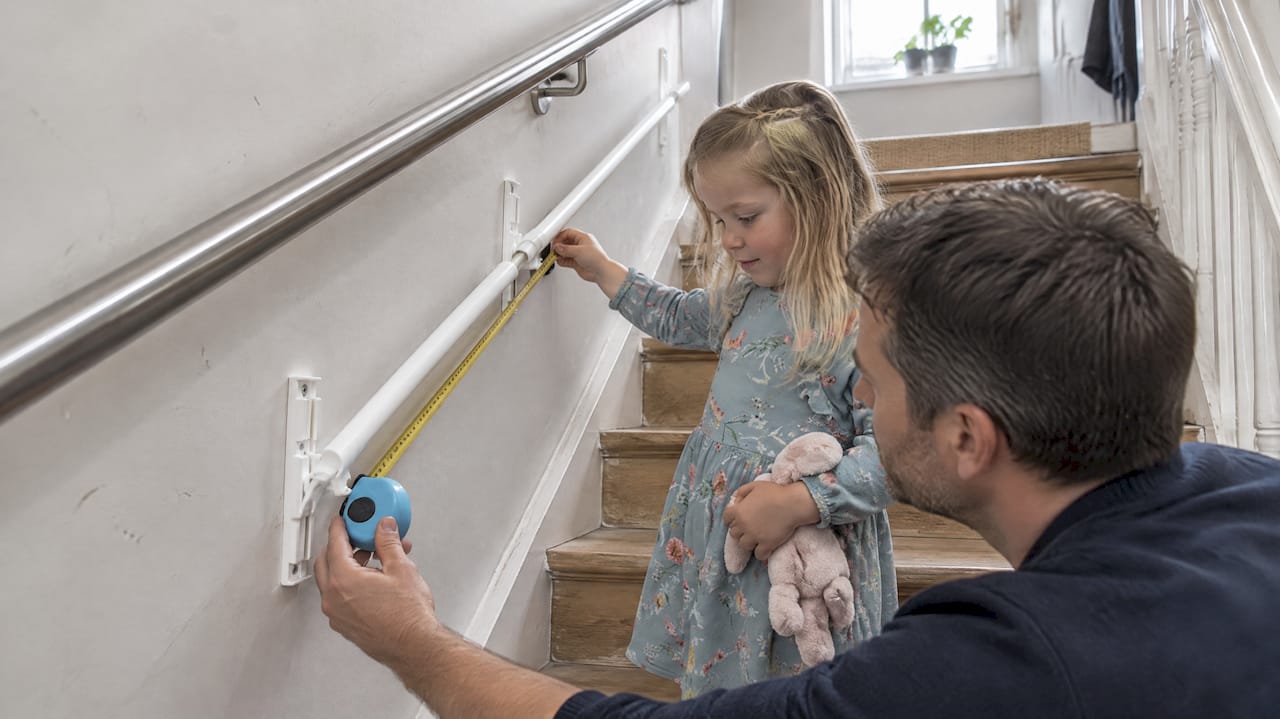
For a wall-mounted handrail, the usual guidance is a bracket at each end and more in between, no more than about a metre apart. For a child rail, tighter is better, and the fixing matters more than the gap. A bracket screwed into plasterboard alone will pull out however neatly you space it. This guide explains the spacing figures that exist, where they come from, and how to plan a child-height rail so every bracket is fixed into something solid.
If you are fitting a KiddieRail, follow the fitting instructions supplied with it first. What follows is the general reasoning behind bracket layout, so you understand why those instructions say what they do.
TL;DR
- Common DIY guidance puts brackets no more than a metre apart, with one at the top and one at the bottom of the flight.
- US-based guidance often quotes 4 feet (about 1.2 m) as a maximum. For a rail a toddler will lean and pull on, treat the shorter figure as your ceiling.
- Spacing is only half the job. The bracket must be fixed into a stud, masonry or a backing board, and then pull-tested.
- Leave at least 230 mm of vertical gap between a child rail and the adult rail above to avoid entrapment, according to US Access Board guidance.
Table of Contents
- What the published spacing figures actually say
- Why a child rail needs more care than an adult rail
- Height and clearance: the check people skip
- Fix into structure, not just into plaster
- How to plan the layout, step by step
- Turns, landings and wide stairs
- A worked example
- Our view on bracket spacing
- Where the evidence stands
- Fitting a child rail with confidence
- FAQ
- Sources
What the published spacing figures actually say
There is no single number that applies to every rail in every country, and it is worth knowing why before you pick one.
| Source | Figure | What it applies to |
|---|---|---|
| Richard Burbidge handrail guide | Not more than 1 m apart, bracket at top and bottom | Typical domestic wall handrails |
| The Spruce installation guide | Anchored at intervals of no more than 4 ft | US home handrail installation |
| California Title 8, section 3214 | Up to 8 ft between brackets, plus a 200 lb load requirement | US workplace stairs, not homes |
The 8 ft figure is the one to ignore for a child rail. It is a workplace limit for rails that must also pass a strong load test. It is not a recommended interval for a toddler’s stairs, and it shows that spacing and strength are two separate requirements. A rail can meet a spacing limit and still fail if the fixings or the wall behind them cannot take the load.
For a home, the sensible reading is simple. Use 1 m as a hard maximum, and go closer where the rail is short, the wall is old, or the child is a determined climber.
Why a child rail needs more care than an adult rail
An adult uses a handrail to steady themselves. A toddler uses it to haul, swing and sometimes hang. The load is smaller in kilograms but more erratic: sudden tugs, a whole body weight dropped onto it when a foot slips, and repeated use hundreds of times a week.
That has three practical consequences for bracket layout:
- Brackets close to each end. The ends are where a child grabs first and where a rail is most likely to lever away from the wall. Put the first bracket within roughly 100 to 150 mm of each end of the rail.
- Even gaps in between. Divide the run into equal sections rather than leaving one long span. If the studs force an uneven spacing, shorten the gaps, never lengthen them.
- A grip that is not interrupted. Bracket arms should attach underneath the rail so a small hand can slide along without hitting a obstacle. California’s rule describes brackets attached to the lower side of the rail so as to leave a smooth surface, and the principle holds for a child rail too.
Height and clearance: the check people skip
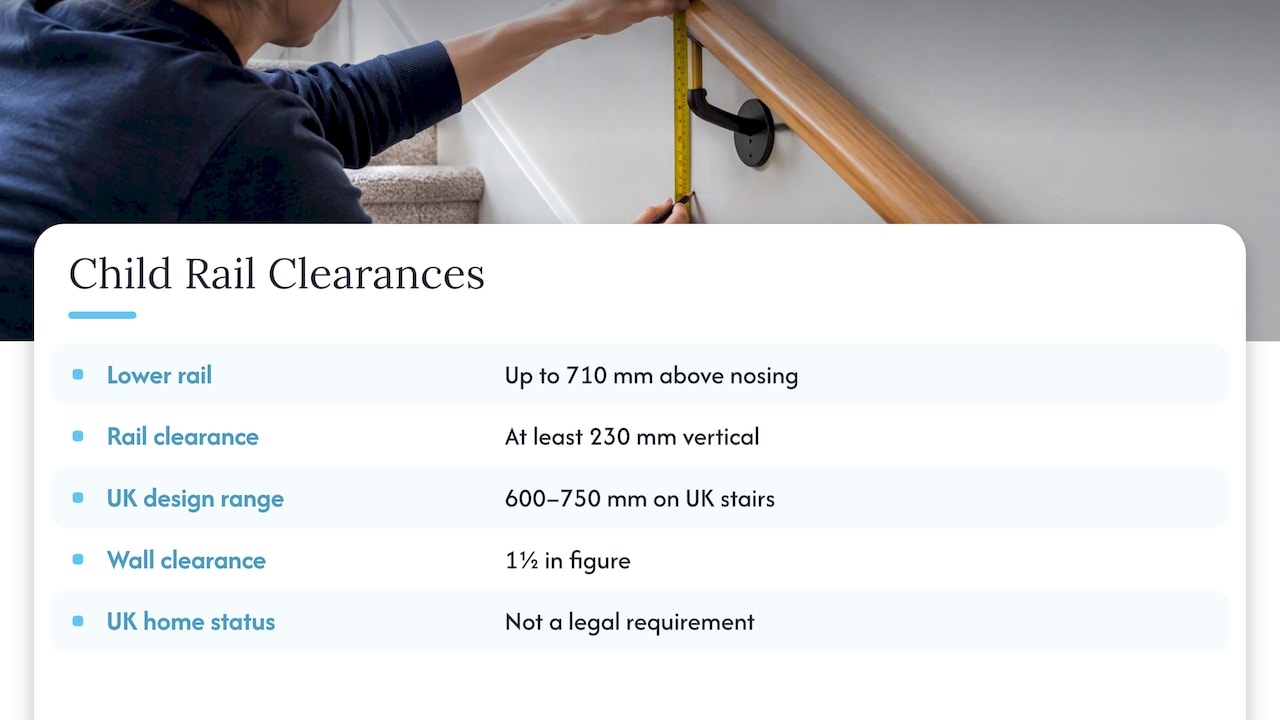
Parents often fret over the gap between brackets and forget the gap between the two rails. The US Access Board recommends a second, lower rail for children at a maximum of 28 in (710 mm) above the stair nosing, with at least 9 in (230 mm) of vertical clearance between rails to help prevent entrapment. That guidance is aimed at facilities used mainly by children, so it is not a legal requirement for a British home. It is still a useful benchmark for where a small head, arm or hand might get stuck.
Our own range is built around the same idea: a rail that sits below the standard handrail at a height a small child can reach. The wall-mounted child handrail guide covers the adjustable 600 to 750 mm range we design for on UK stairs.
The wall gap matters too. Fingers need room to wrap round the rail but not so much room that an arm can slip behind it. Our wall clearance checklist goes through the 1½ in figure and how it affects a child rail.
If you want a broader picture of how grip height and separation work on other types of railing, this US explainer on railing heights is a handy read, though the figures are American and for decks.
Fix into structure, not just into plaster
The most common failure is not wide spacing. It is a bracket held by a wall plug in plasterboard. Plasterboard crumbles under repeated pulling, and a rail with brackets every 300 mm can still come away in one piece.
The Spruce advises using a stud finder to locate studs at each bracket position. Where studs do not line up with the spacing you want, you have three options:
- Shift the bracket along the rail to meet the stud, as long as the gap stays under your maximum.
- Fit a backing board to the wall first, fixed into studs or masonry, and screw the brackets into the board. We explain this in our guide to installing a handrail backing board.
- Use fixings made for the wall type, such as masonry plugs in brick or block, with pilot holes drilled to the correct size.
Backing boards solve the spacing puzzle neatly. Once the board is secure, brackets can go wherever you need them along it, so the layout follows the child’s needs instead of where the timber happens to be.
How to plan the layout, step by step
- Measure the whole run. Include landings and any turns. If you are covering more than one flight, measure each separately.
- Find your structure. Mark studs, joists or solid masonry with a detector and a small test hole.
- Choose a consistent grip height. Mark it with a spirit level along the whole flight, not just at the ends.
- Mark the end brackets first. Keep them near the rail ends, then divide the space between them evenly.
- Check your maximum. If any gap exceeds 1 m, add a bracket. For a short flight, adding one more is cheap insurance.
- Pre-drill. Use the right bit for the fixing and avoid crushing plaster as you tighten.
- Pull-test every bracket. Hang your weight on it, with care, and check again after the first week of use.
The Access Board also calls for smooth, graspable surfaces and rounded edges, so run a hand along the finished rail and look for anything snag-prone.
Turns, landings and wide stairs
A straight-flight formula does not fit every staircase. The ABA guidelines state that inside handrails on switchback or dogleg stairs should be continuous between flights. For a toddler, that means thinking about the handhold as a continuous route, not a set of separate rails.
On a dog-leg or winder, plan transitions before you drill. Mark where the rail changes direction and put a bracket close on both sides of the change. Our guide to stair landing safety shows how a child-height rail can bridge the gaps that a single adult rail leaves.
On wide staircases, a child in the middle has nothing to reach. Our wide stair guide explains why measuring first matters and why we suggest splitting flights over 2.3 m.
A worked example
Suppose you have a straight flight with a 2.4 m run.
- Brackets at each end, about 120 mm in from the ends.
- That leaves roughly 2.16 m between them. One gap would be far too long.
- Add two brackets between, giving three equal gaps of about 720 mm.
That sits comfortably under the 1 m maximum. If the studs sit at 600 mm centres and none match, either shift each bracket to the nearest stud or fit a backing board. Do not simply use plugs.
For a 3.4 m run over two sections, use the same logic: ends, then equal divisions under 1 m, with extra attention at the joint between sections.
Our view on bracket spacing
We design a child rail to be used, pulled and leaned on every day for years, so we think about the wall before the rail. In our experience, parents who ask about spacing are often really asking whether the rail will stay up. The honest answer is that spacing, fixing and wall type work together.
Our advice is to follow the maximum in the instructions, never stretch it, and treat solid fixings as non-negotiable. A rail that grows with your child will be loaded in different ways at different ages, so check the brackets from time to time, especially after adjusting the height. And remember a rail is one part of a safe staircase. Gates, clear steps and good lighting all matter. Our guide on pairing gates with teaching covers the rest.
— Paul
Where the evidence stands
A 2015 cluster-randomised trial of 842 households found that a package of low-cost home modifications, including handrails for internal stairs, reduced medically treated home-fall injuries by an adjusted 26%. It tested a package, so it cannot tell us that any particular bracket spacing prevents injuries. What it supports is the wider point: modifying the home can reduce injuries, and a handrail is one of the modifications worth doing properly.
Fitting a child rail with confidence
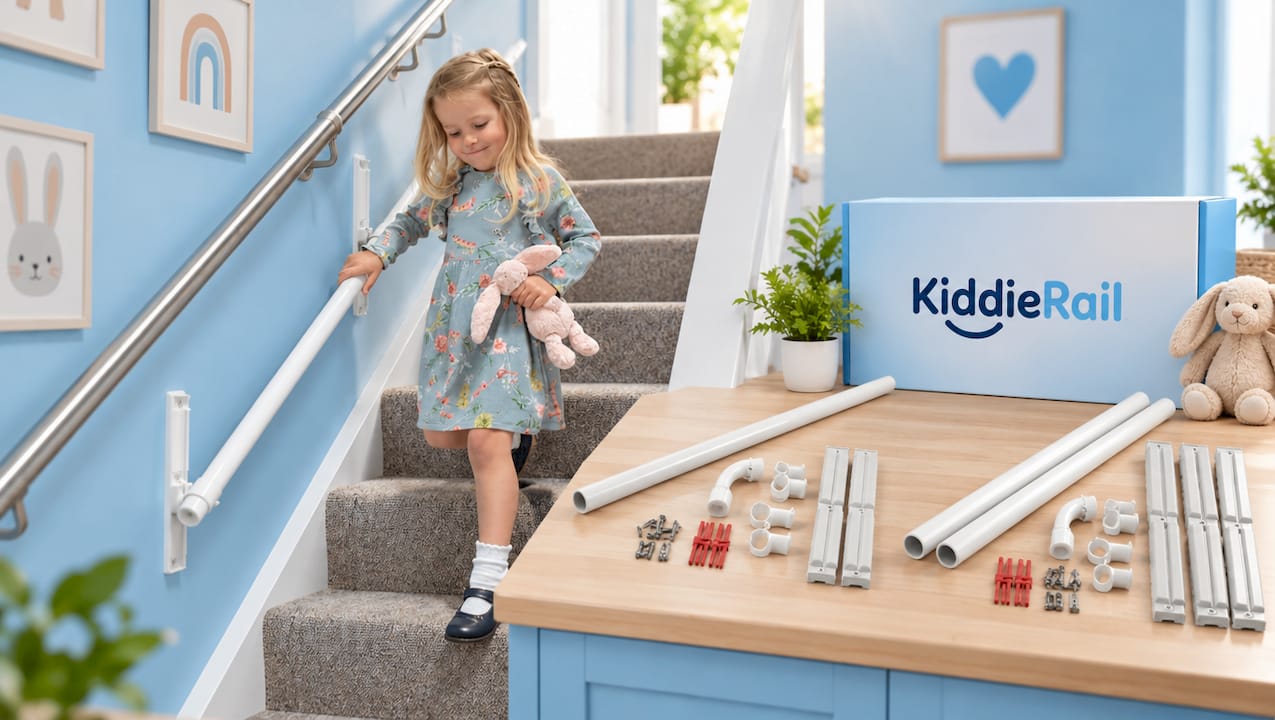
Our adjustable child stair handrail sits below the standard handrail and is designed to be fitted by the owner. If your stairs are longer than a single rail, the KiddieRail extension packs add length at £24.99 to £36.99 each, depending on size. You can see the adjustable child stair handrail in the shop, and individual packs for an extra 85 cm or an extra 170 cm of length.
FAQ
How far apart should brackets be on a child handrail?
No more than about a metre apart, with a bracket at each end, according to common handrail installation guidance. For a child rail that will be pulled on, shorter gaps are sensible. Always follow the instructions supplied with your particular rail if they specify a smaller figure.
Can I fit brackets into plasterboard only?
We would not. Plasterboard alone can crumble under repeated tugging. Fix into studs, masonry or a backing board, as covered in our backing board guide.
Does closer spacing make a weak wall safe?
No. Closer brackets cannot make up for weak fixings. California’s rule treats bracket spacing and load strength as separate requirements, and the wall has to pass both.
How much gap should there be between a child rail and the adult rail?
US Access Board guidance suggests at least 230 mm of vertical clearance to help prevent entrapment. That is guidance for child-focused buildings, not a UK legal rule, but it is a sensible benchmark at home.
Sources
- Richard Burbidge: How to install handrail brackets
- The Spruce: How to install a stairway handrail
- California Code of Regulations, Title 8, Section 3214
- US Access Board: Stairs guide
- US Access Board
- ABA guidelines, 505 Handrails
- The Lancet: HIPI home modifications trial
- Action Fence and Deck: US deck railing height


